Friday, September 30, 2016

Wiring - the beginning

The engine is in it's final resting place, the bulkhead is painted and sound deadening applied.  I believe it's time to see if I can get a 1970 Series IIa wire harness to meet up with a 2007 GMC Sierra engine harness and a 1989 Range Rover Classic steering harness.  Fun times ahead.


Monday, September 26, 2016

2016 Land Rover National Rally

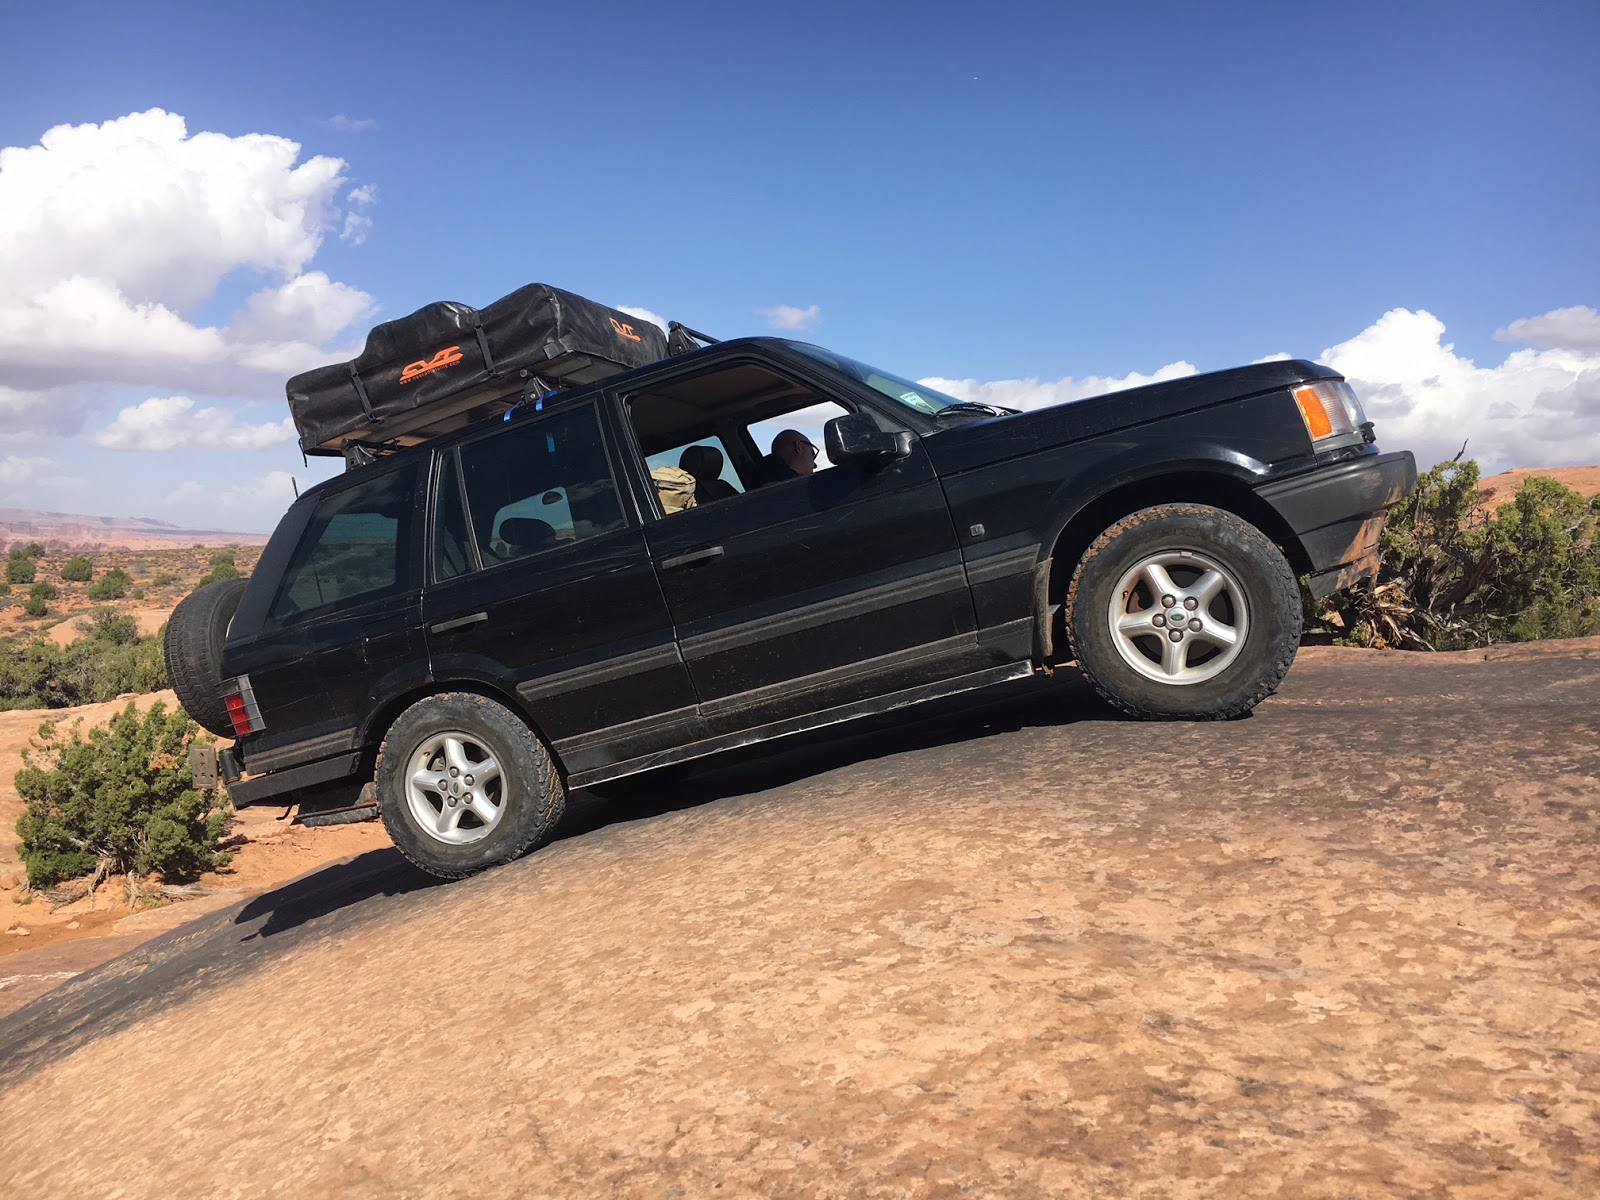
Just wanted to share some photos from the 2016 Land Rover National Rally


Sunday, April 10, 2016

Bulkhead rebuild

I purchased a Series III bulkhead years ago while we were still living in Seattle.
Had a small bit of rust in the drivers foot well, and I had to do just a little bit of modification to fit around the V8 engine.
I have been slowly gathering all the various bits and pieces to build up the dash area.
I am going to make Series-II style windscreen hinges.
All the welding is complete.  Have been busy stripping paint, and getting it ready for the POR-15.
I have a hobart 180amp mig welder.  For sheet metal I run .023 solid core wire and argon mix gas.  Lowest heat setting.
Sitting in the drivers seat, the lower left frot corner of the foot well was rusted through, right where all three piece meet up.  The hole was probably under 2".  But as you can see in the photos I replaced more.  I like going back to solid steel if I am welding.  I don't weld on rusted areas.  
Before cutting out the rust, I made templates from old manilla folders.  There is about a 1/2" overlap between my patches and the existing steel.
I aggressively removed all the paint, and drilled out some of the spot welds, then used a cut off wheel on a dremel to remove.  
Bent the replacement piece in my vise.
Then went slow and started welding it all back together.
I have seen the technique for thin metal called stitch welding.  It's not one long continuous bead but rather 1/2", skip ahead, another 1/2' etc.  Then go back and fill in the gaps.

I am not going for originality so didnt worry about butt joints or hiding the repairs.  My goal was solid.

After the POR15, the engine side is getting coated with foil faced sound deadener.  Then the outside of the footwells will get coated with bed liner.

The areas visible after assembly will get color painted to match the rest of the vehicle.


I will be using a Range Rover Classic steering column/wheel and have to make the mount under the gauges.  And still trying to locate a lower dash.  If I can't find one I will make one.
The top and lower will get stripped to bare metal, POR15, new foam, and leather wrapped.


Major component install

After all the welding on the frame was finished, I stripped/sanded/wirewheeled it down.  The treated it with Metal-Prep.  After the surface was ready I brushed on so POR-15 followed by Chassis Coat.
I then got the engine, transmission, and transfer case bolted in.  The Tub and bulkhead have been added.


Rear springs installed.  Using the 109 rear Salisbury until I can get the D110 rear fitted with an ARB.


I need to get a pair of rear parabolics to go up front, until then using the old rears I had.
The D110 front Salisbury has been totally stripped down, all of the coil suspension brackets removed, leaf perches built, and everything coated in POR15.  Ready to get it under the vehicle.


Thursday, October 15, 2015

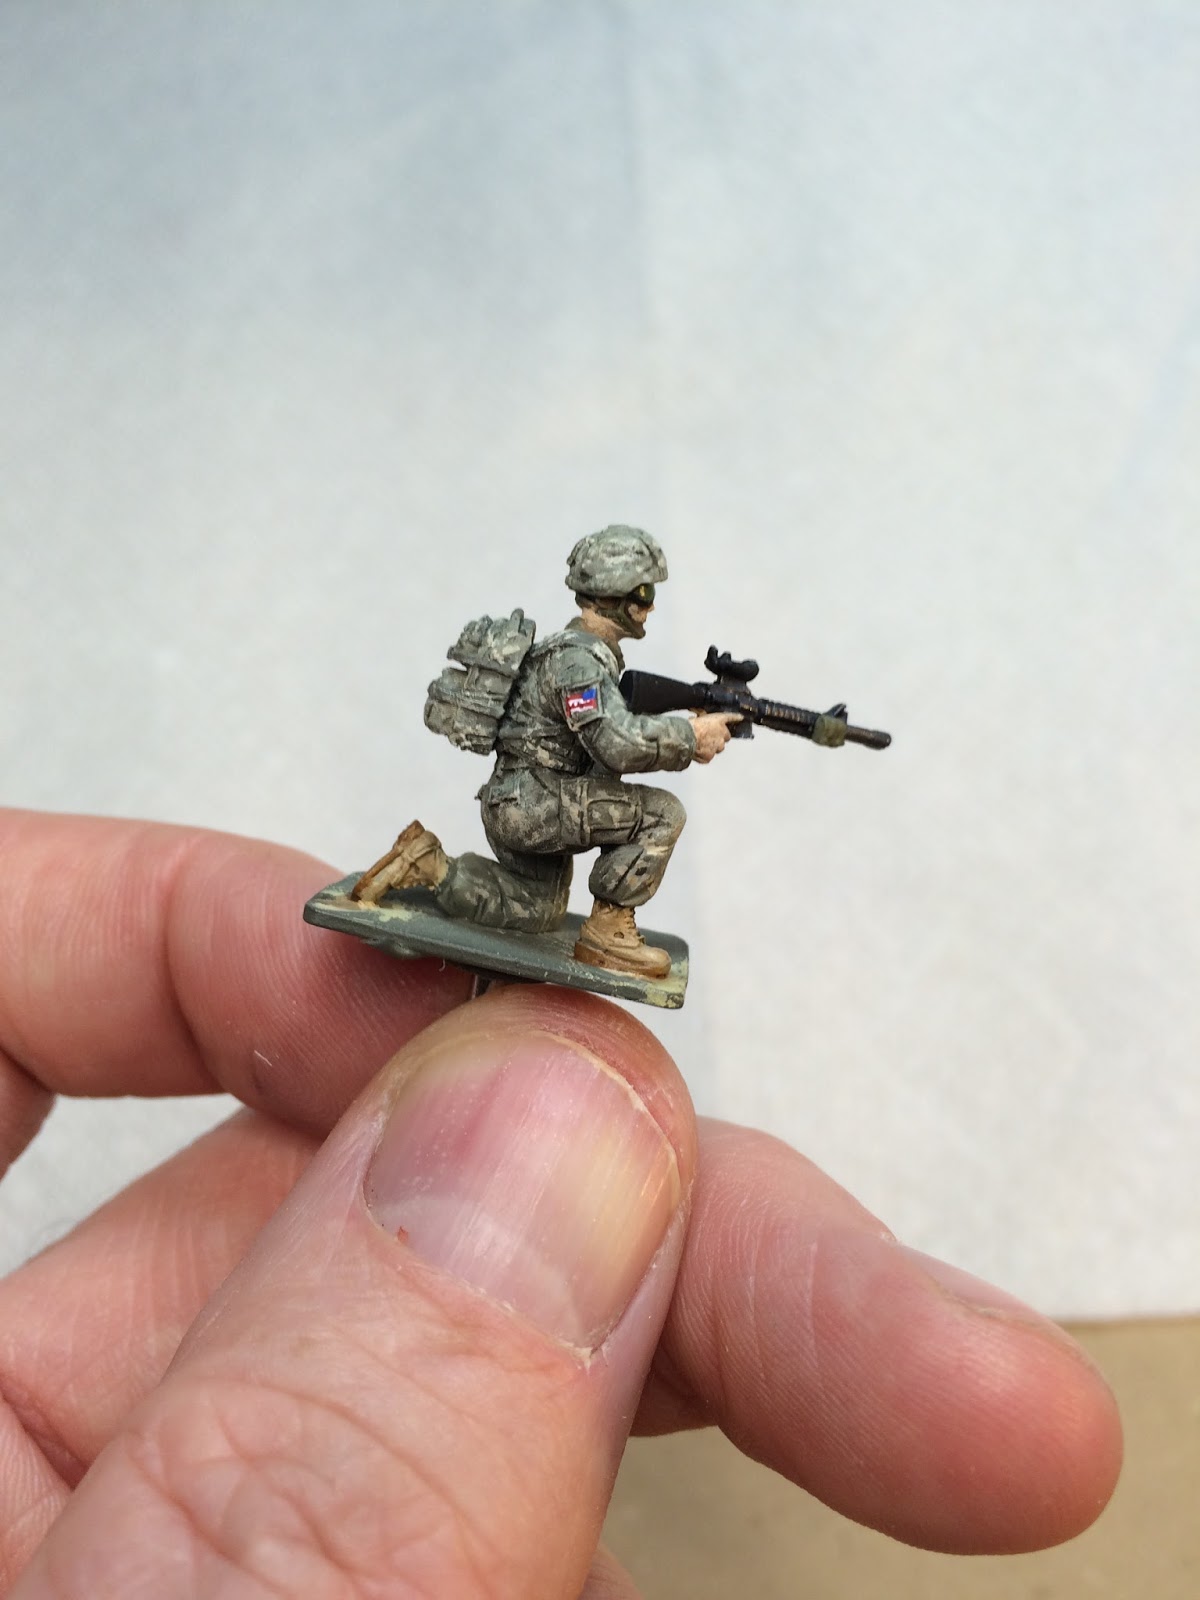
28mm Empress Modern US Army Figure in ACU

I have been working on a Platoon of 28mm figures.  These will be used in multiple games - Skirmish Sangin, Force on Force, Danger Close, etc.
The figures are from Empress Miniatures and I am very impressed with the quality of the sculpts.
After priming I base coat them with Vallejo Green Gray (886).
I then gave a wash of Citadel Nuln Oil.
Followed this with a heavy dry brush of Green Gray over the entire figure.  I followed by a light dry brush of Green Grey mixed 50/50 with Sky Grey (154) just on the uniform areas.
I then used a 50/50 mix of Green Gray and US Dark Green (95).  I used this to paint all the PALS and other webbing.  I wanted to just have a bit more contrast between uniform and MOLLE gear, and in my experience the MOLLE fabric and the webbing itself fade at different rates.
I then used an old worn out, short haired, fine brush to stipple Sky Grey and Buff (120) everywhere.
To me, this works fairly well for 28mm figures at arms length.

I used Iraqi Sand (124) on the boots, US Dark Green for the 550 cord laces, and then a wash of Citadel Agrax Earthshade.

Vallejo Skin for the skin, followed by a wash of the Flames of War skin shade.

I used the US Dark Green for chin straps.
Mix of Black and German Fieldgray (102) for the weapons.
Highlight drybrush with Gunmetal (179).
Dark Green for the PEQ 15.

For my first attempt at this pattern at this scale I am very happy with the results.
I still need to base and then give a coat of matte varnish.

And then repeat 34 more times for the entire Platoon.


Sunday, October 11, 2015

Frame -suspension mounts

After completing the engine mounts I flipped the frame over and got started on the mounting points for the springs.  I had cut of the rear spring rear mounts and welded these up front.  With the longer springs here and the tock front horns, the angle wasn't quite right.


I needed to lower the mounting holes about 2".  I cut the tabs with the mounting holes off and the made some new triangular side plates.  I welded the side plates on and then welded the cut off tabs to these to get the propped width.  Now the front was set with mounting points even with the rear.


On the rear I cut off the leading mounts.  I order two new 88" trailing mounts from Rovers North.  I boxed up the area on the rear cross member I intended to mount these.  The new location will also place the rear springs outboard of the frame like the 109".


I welded the trailing mounts on, then measure for the location of the leading mounts.  I reused the 88" mounts and boxed them in.


That's it for the suspension.

Monday, September 28, 2015

Frame rebuild

I got extremely lucky with my frame, fellow Series fan here in CO had a Series 88" frame that was in excellent, rust free condition.  It was a complete rolling chassis.
I rented a small lawn and garden trailer from the Air Force Academy and drove up to Evergreen to get the frame.  A quick pull with a come-along and it was loaded.  Backed it into the garage when I got home and got it unloaded.

I removed the front and rear axles and the suspension.  The steering relay came out in multiple pieces.  I am going to have to do some repairs to the front cross member.
I built a jig that bolted to the rear mount of the front springs and the front mount of the rear springs.  I knew I was not doing any 'stretching' of the frame between these two points.  I made the jig so that the frame was level to the floor.  I then welded two legs onto the rear cross member and two more where I planned on cutting..  I did a lot of measuring, then cut the frame just ahead of the shock mounts.  I then just slide the cut off part back 12" and started welding in the new metal.  After completing the new frame rails in the rear I repeated the process in the front.  I made the front cut just behind the cross member and moved the front horns forward 5",

I didn't take any photos of the frame stretch, but here it is still on the jig as I attach all the body panels to make sure everything lined up correctly before doing all of the finish welding


After completing the stretch, I started working on the engine mounts.
First I welded the front axle to some 2" blocks on the frame.  This placed the axle at the full compression position so I could check for clearance.
With the firewall, seatbox, and tub in place and the engine and transmission hanging off the engine hoiste I started trying to determine the proper location for the engine.
I need to modify the firewall slightly to fit the engine as far to the rear as possible.  I drilled out all of the spot welds that hold the center section to the reast of the bulkhead.  I kept jockeying around the engine until I had it where I wanted.  I needed room for the cooling fans, radiator, oil cooler, and transmission fluid cooler at the front, room for the intake and fuel lines on top, ensure the oilpand didn't hit the axle, and rooms for the exhaust.


When all was said and done, I had the engine in the perfect spot.  I had to make a slight mod to the footwells to avoid the exhaust, but was otherwise able to weld the center panel back in and have no other mods to the firewall.  The seat box clears the transmission and transfercase.  And it looks like the center tunnel will fit without modification.


I cut of the transmission crossmember and added brackets to it to create a removable mount and then positioned it under the joint between the transmission and transfercase.
I also cut out the cross member under the engine.  I will have to build a new one of these that works with the front axle.  The 4L60 and NP/241 combo is going to require some trickery to get the front drive shaft set up.  I might need a 2-piece shaft with a pillow block.

More next time...